


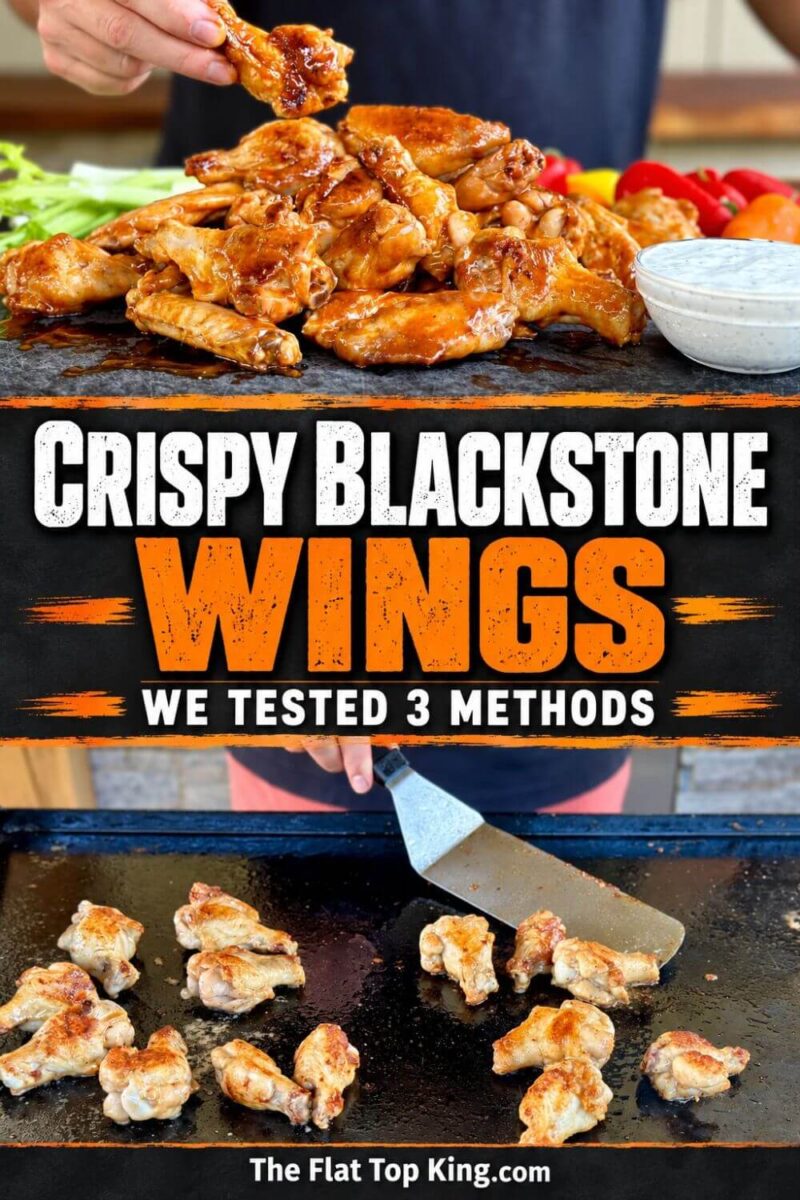
Can you really get crispy chicken wings on the Blackstone griddle? We tested 3 different prep methods side by side to find out which one gives you the best griddle wings. The included recipe is how we’ll be making all of our Blackstone buffalo wings in the future!
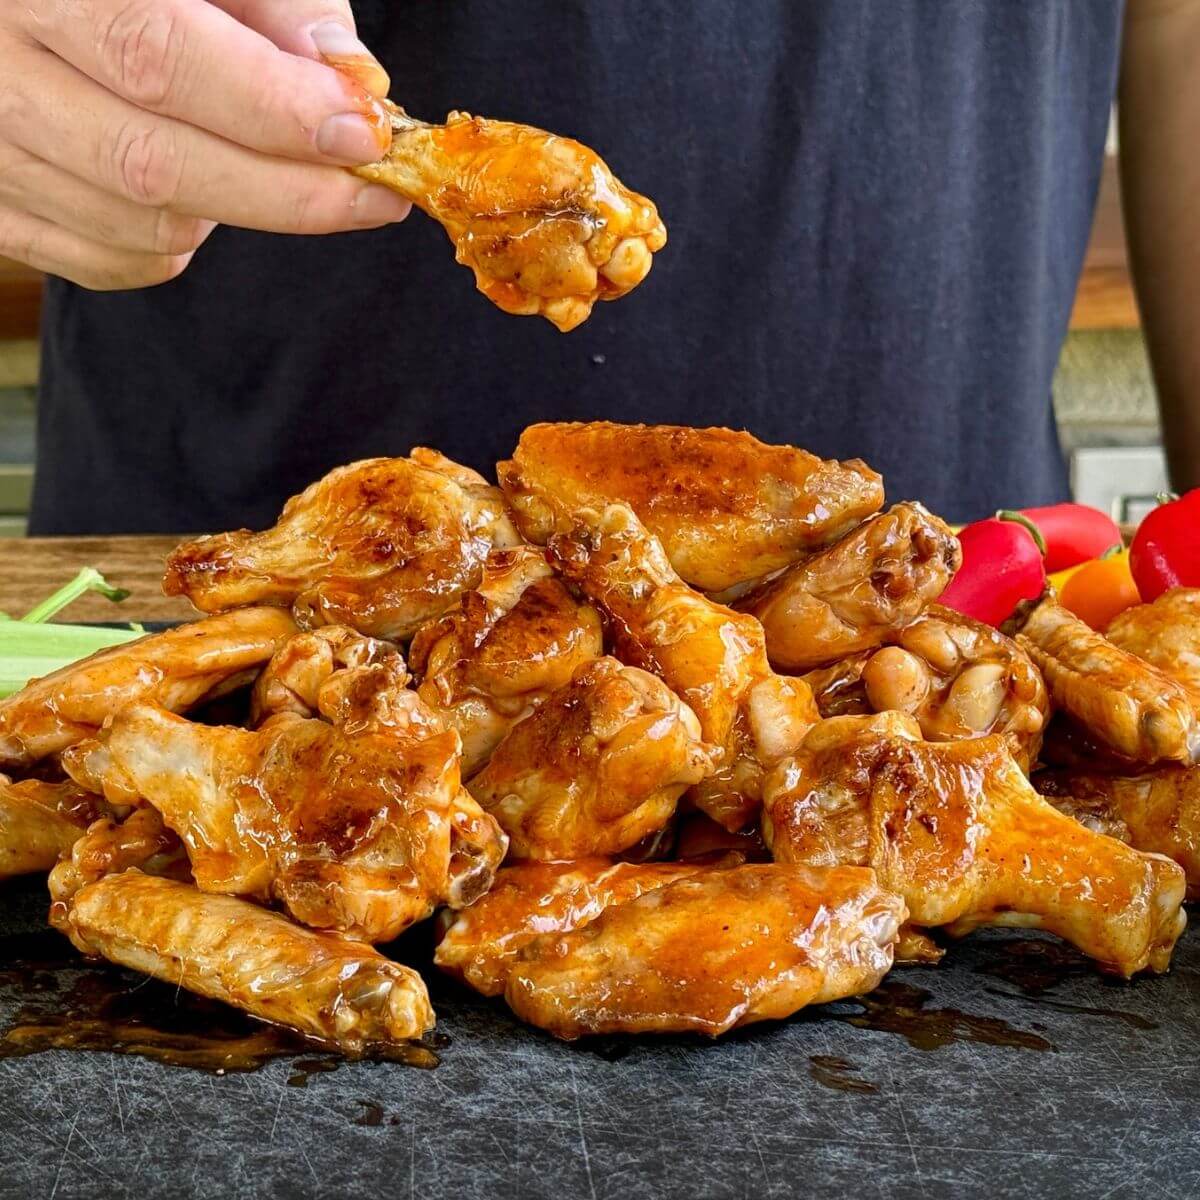
It’s fall, it’s football season, and that means it’s wing season. Let’s be honest though, we eat wings all year long around here. Growing up, my dad would mustard up some wings, season them, and grill or smoke them for every holiday from Memorial Day to the 4th of July. So wings have been in the family a long time.
The griddle has been a different journey. A few years back I made chicken wings on the Blackstone griddle with 3 different sauces (buffalo, Asian, and parmesan garlic), and y’all loved them. But the question I get over and over is this: how do I get my griddle wings crispy?
So this time, instead of testing sauces, we tested the prep. Same wings, same griddle, same cook, 3 different methods. Here’s what happened, and my honest take on whether “crispy” griddle wings are really a thing.
Video
Testing 3 Methods for Crispy Blackstone Wings
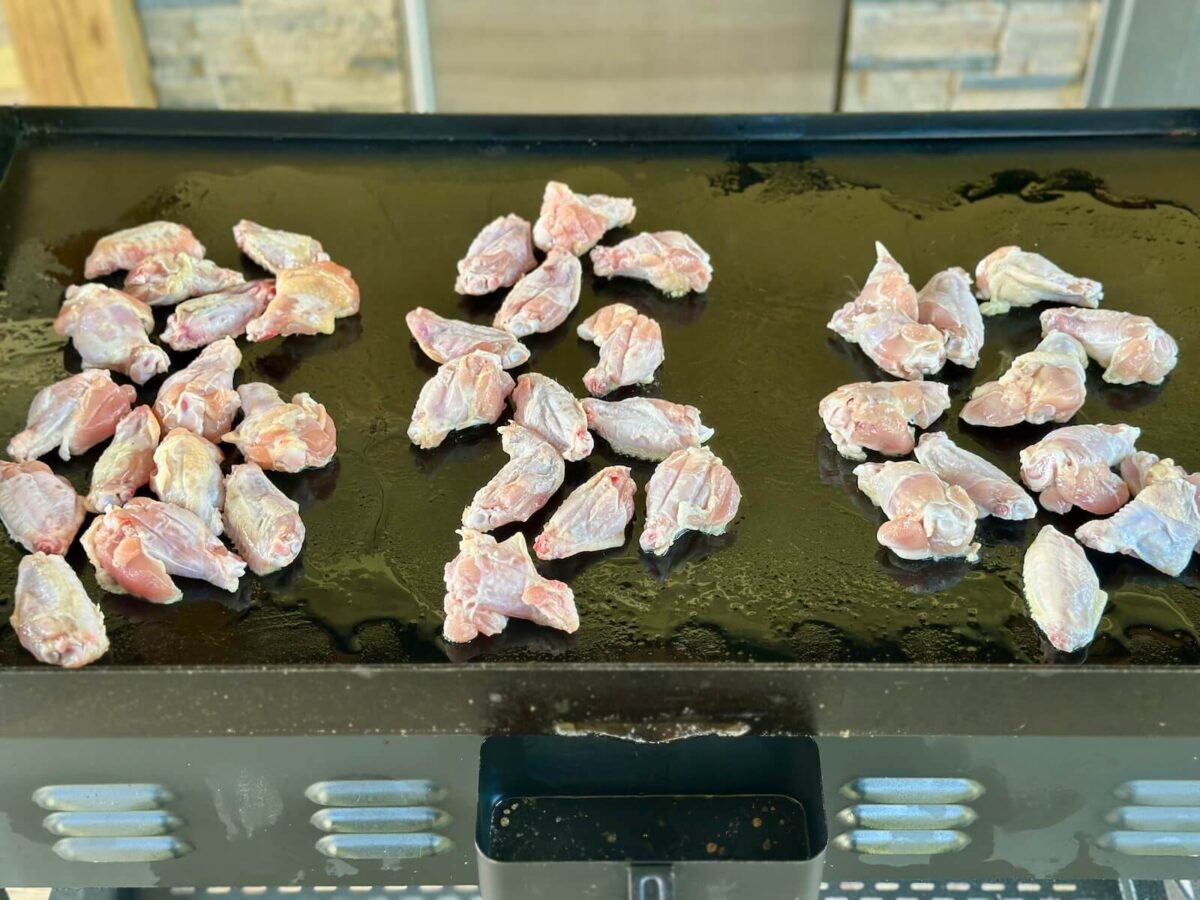
I grabbed a 3-pack of wings from Costco (about 5.25 pounds total) and split it into 3 even batches, roughly 1¾ pounds each. Every batch was patted dry and got the same half tablespoon of kosher salt. The only difference was the timing and one extra ingredient.
I kept each batch in its own section on the griddle, and I cooked them all at the same time with the same oil, the same rotation, and the same finishing temp.
Here’s a look at the 3 popular methods that we tested:
| Method | Prep | How it Looked on the Griddle |
|---|---|---|
| 1. Day of (salt-only) | Dried and salted right before cooking | Noticeably wetter going on; least color |
| 2. Overnight dry brine (salt only) | Dried, salted, refrigerated overnight uncovered | Drier skin, good browning |
| 3. Overnight dry brine + baking powder | Dried, salted, tossed in non-aluminum baking powder, refrigerated overnight | Driest skin, most color, crispiest edges |
The Results
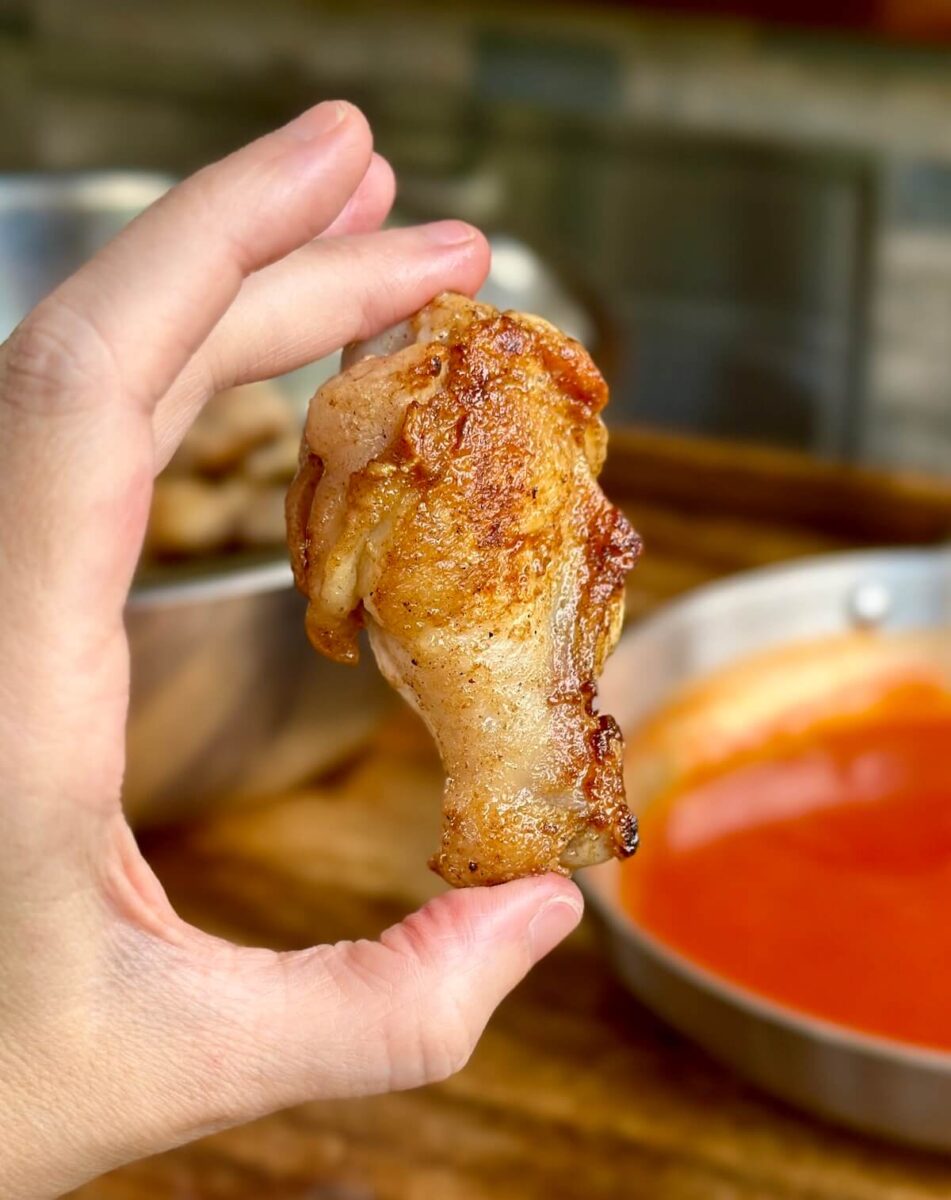
Here’s the truth: all 3 batches were dang good. Every single one was juicy, even though we cooked them well past 165°F (more about that later). If you tossed them all in buffalo sauce and mixed them up, I don’t think anybody at the party could tell them apart.
But if I have to nitpick and pick a winner, it’s Method 3, salt plus baking powder. It picked up more color and the edges got the crispiest. We’re talking B+ versus A-, though. The overnight salt-only wings were right on its heels.
The day-of wings were the clear third place. Even halfway through the cook you could see the difference, because all that surface moisture has to cook off before the skin can start to brown.
My Honest Take on “Crispy” Griddle Wings
I’m probably going to get ridiculed for this, but I’m going to tell you the truth: a griddle wing is not going to be crispy like a deep-fried wing. You’ll get some crispy bites and some great crunchy edges, but a flat surface can’t get into all the nooks and crannies the way hot oil does. Even when we compete in wing competitions, we smoke our wings and then deep fry them to get that exterior.
That doesn’t mean griddle wings are a fail. Far from it. My version of crispy might not be your version of crispy, and what you’ll get here is a dried-out, rendered, golden skin that holds up to sauce. That’s fantastic party wings.
Bottom line:
- At a bare minimum, dry brine your wings with salt overnight. It pulls out moisture and seasons the meat all the way through.
- If you already have baking powder in the pantry, use it. It gives you a small but real edge.
- If you’d have to make a special trip to the store for it, don’t stress. The baking powder won’t make or break your wings.
Ingredients for Crispy Chicken Wings on the Blackstone
- Chicken wings – Flats and drums, wing tips removed. Fresh wings are best. If yours are frozen, thaw them completely, let them sit on a cooling rack set over a sheet tray so moisture can escape, then dry them again before you salt them. Frozen wings hold a lot more water, and water is the enemy of crispy.
- Kosher salt – This is your dry brine. I use kosher salt, and it matters: table salt is much finer, so the same spoonful packs in a lot more salt. If you swap in table salt, use less or your wings will come out salty. I exclusively use Diamond Crystal Kosher Salt in all my cooking.
- Non-aluminum baking powder (optional, but our winner) – A light, even coating is all you need. Make sure it’s baking powder, not baking soda, and look for non-aluminum so you don’t get a metallic aftertaste. It raises the pH of the skin, which helps it dry out and brown.
- Avocado oil – More than a touch, but you don’t need to drown the griddle. Avocado oil handles high heat well. Once the wings start rendering, you’ll use their own chicken fat for the rest of the cook.
- Buffalo sauce – I’m a fan of straight out of the jar. Your favorite store-bought brand works great.
- Honey (a drizzle) – Optional, but it cuts the heat of the buffalo sauce back a little without making it taste sweet.
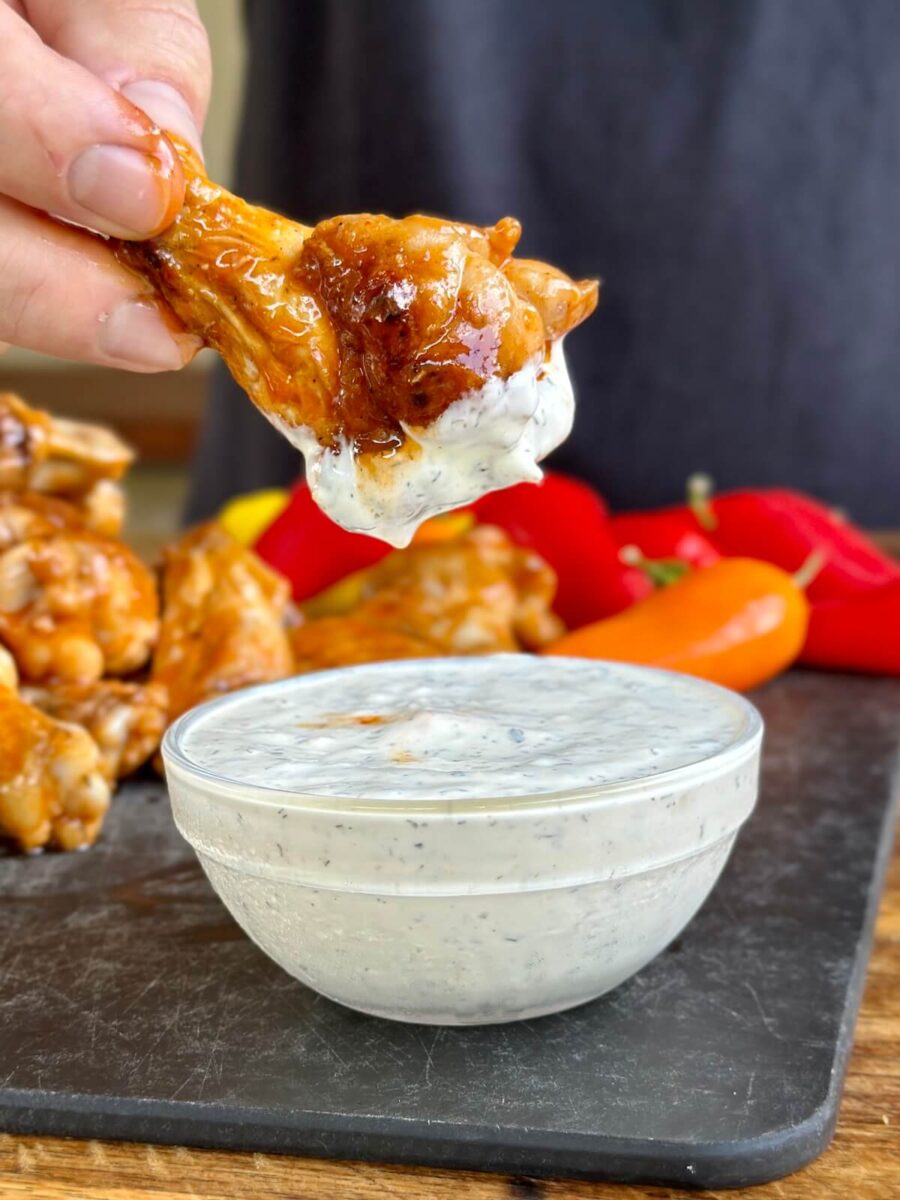
- Ranch or blue cheese for dipping – We went with our favorite homemade buttermilk ranch dressing.
*Tools you’ll need: Paper towels, a large bowl, a sheet tray with a cooling rack, tongs or a spatula for tossing, and a reliable instant-read probe thermometer.
*A note on sodium – Go easy on the salt in the brine. Most wing sauces are already loaded with sodium. Just 2 tablespoons of the hot sauce we used had 730 milligrams. Salt the wings lightly and let the sauce do the rest.
How to Make Crispy Chicken Wings on the Blackstone Griddle
Step 1: Dry the wings really well.
Line a bowl with paper towels and pat every wing dry, top and bottom. This is the single most important step in the whole process. Any water left on the skin has to steam off before the skin can brown, and while it’s steaming, it’s not crisping. Dry first, always.
Step 2: Dry brine with salt and baking powder.
Sprinkle the wings with ½ tablespoon of kosher salt and give them a light toss. For the winning method, add a light, even coating of non-aluminum baking powder and toss again.
Why it matters: Salt pulls moisture out of the skin and seasons the meat inside, so you get a juicier, more flavorful wing. Baking powder gives the skin a little extra help drying out and browning. Just don’t overdo the salt. Your sauce is going to bring plenty more.
Step 3: Refrigerate overnight on a rack.
Spread the wings out on a cooling rack set over a sheet tray and put them in the fridge, uncovered, overnight. The next day they’ll look noticeably drier, and you might see a little white residue on the baking powder batch. That’s normal.
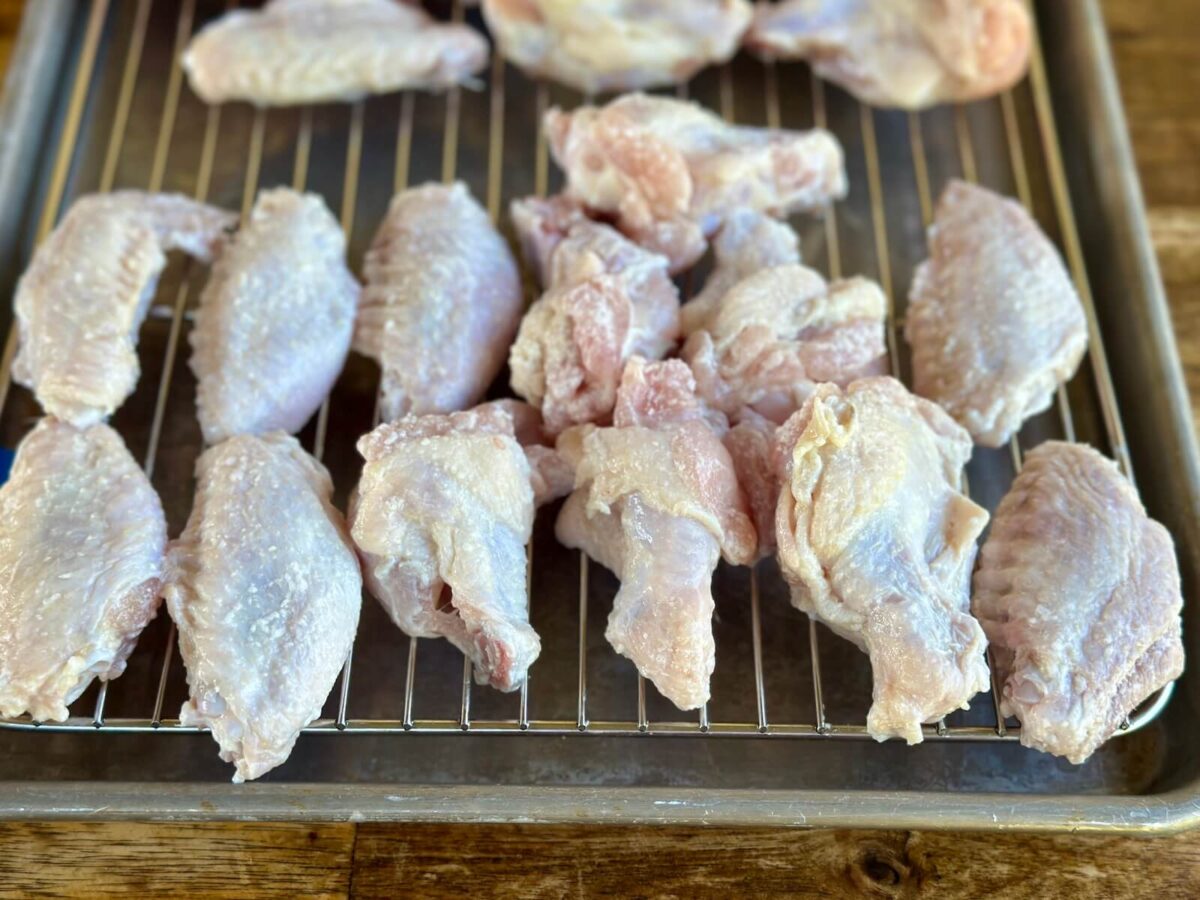
Why it matters: The cold, dry air of the fridge dries out the skin even more. In our test, this overnight rest made a bigger difference than the baking powder did. If you can only do one thing, do this.
Step 4: Pat dry again and preheat the griddle.
Right before cooking, pat the wings dry one more time to soak up anything the salt drew out. Then fire up the griddle. Keep in mind that on a Blackstone, the middle runs hotter than the edges, since the inside sections sit over 2 burners and the outer edges only have 1. Plan to use those zones.
Step 5: Oil the griddle and spread the wings out.
Add a good amount of avocado oil – enough to very shallow fry. Lay the wings down with plenty of space between each one.
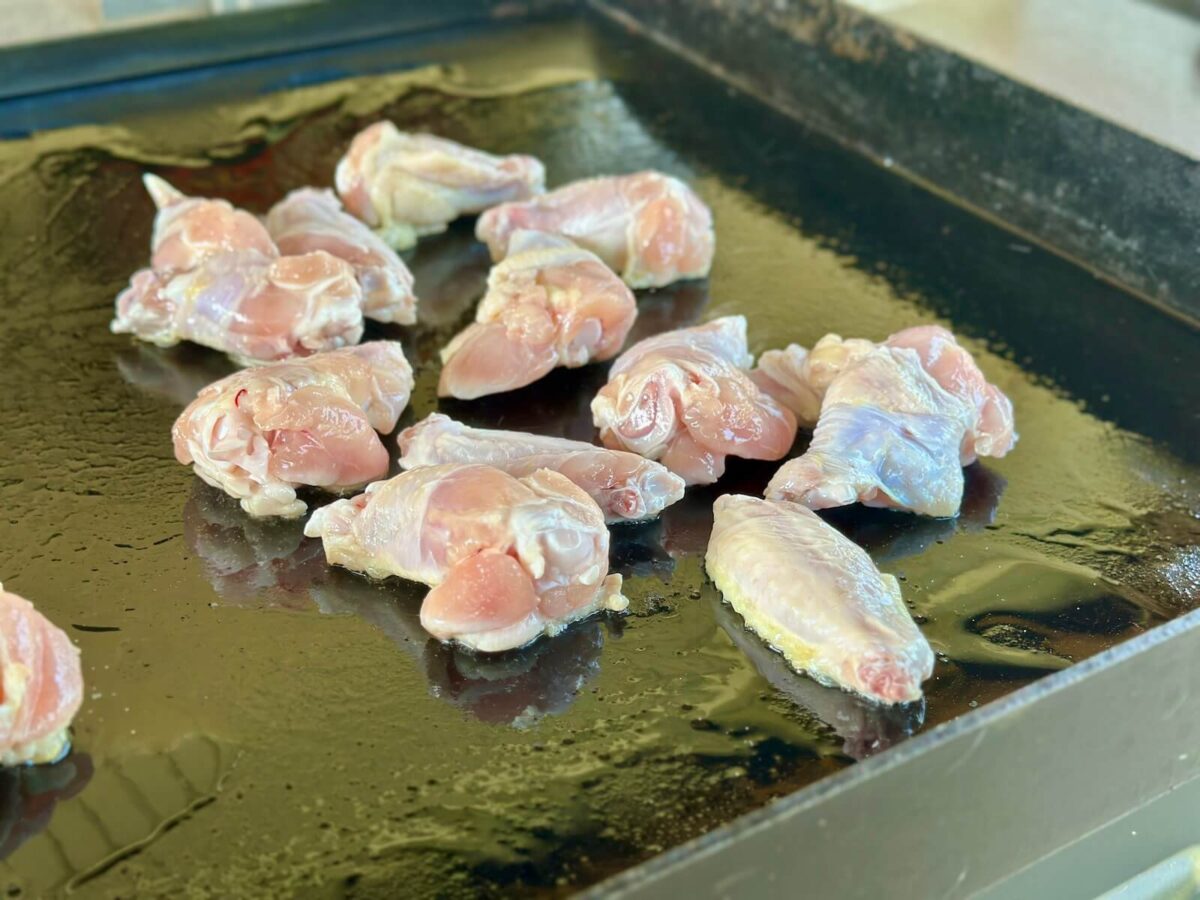
Why it matters: Crowded wings trap steam and won’t brown. And anytime you put cold protein on a flat top, it zaps the heat out of that spot. Spacing them out helps the surface recover.
Step 6: Rotate the wings often.
After a few minutes, start flipping. This is not a “flip once” kind of cook. Keep tossing and turning the wings so every side gets contact with the hot surface. You’re going for 360-degree fat rendering.
Don’t be scared to move your wings to a different part of the griddle, either. Slide them over to a fresh spot and let the spot you just used build back up to temp.
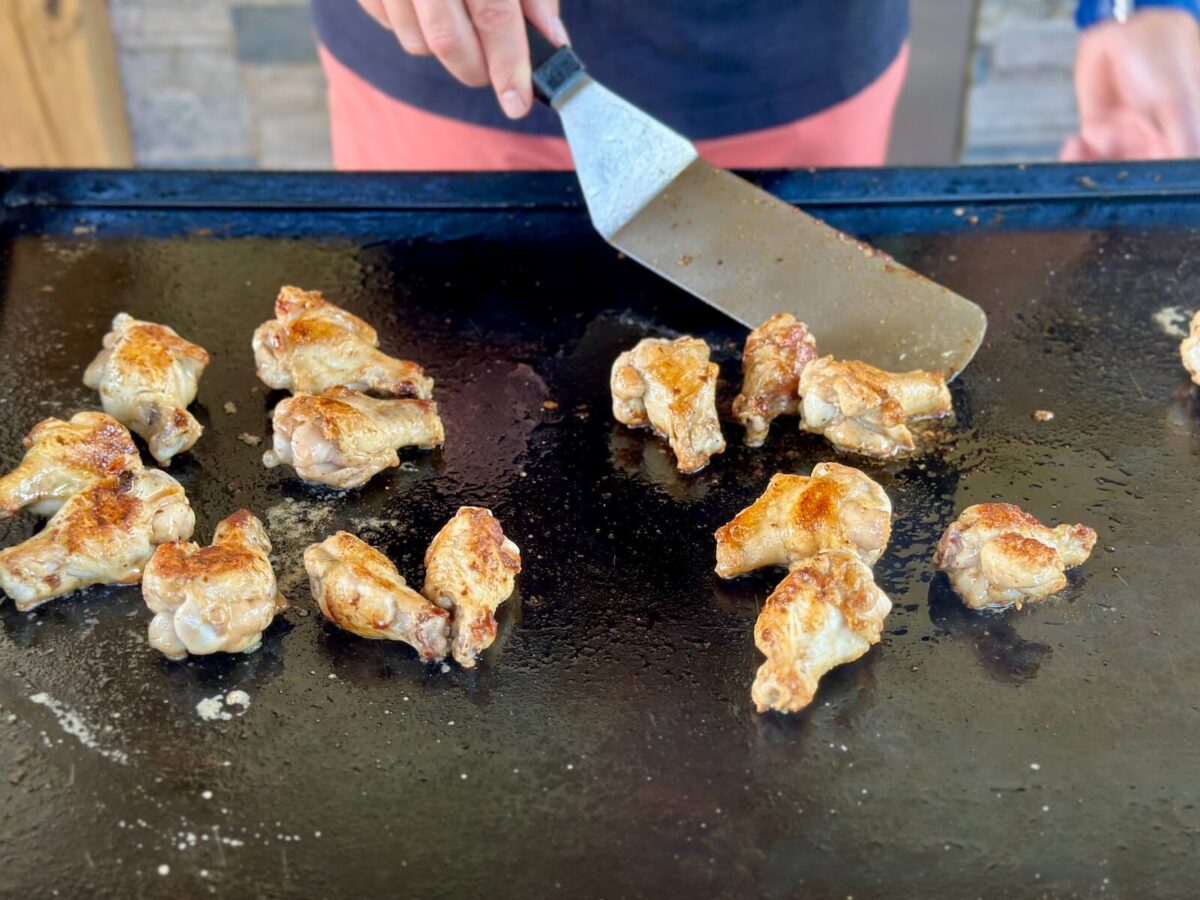
Step 7: Use the heat zones.
As the flats reach the proper internal temperature, move them to the cooler side of the griddle and keep the drums in the hotter zone, since drums take a lot longer to cook.
Also, my griddle is slightly un-level so that fats and oils pool in one corner. I use that to my advantage. As the natural chicken fat renders, I toss my wings in that instead of adding more oil.
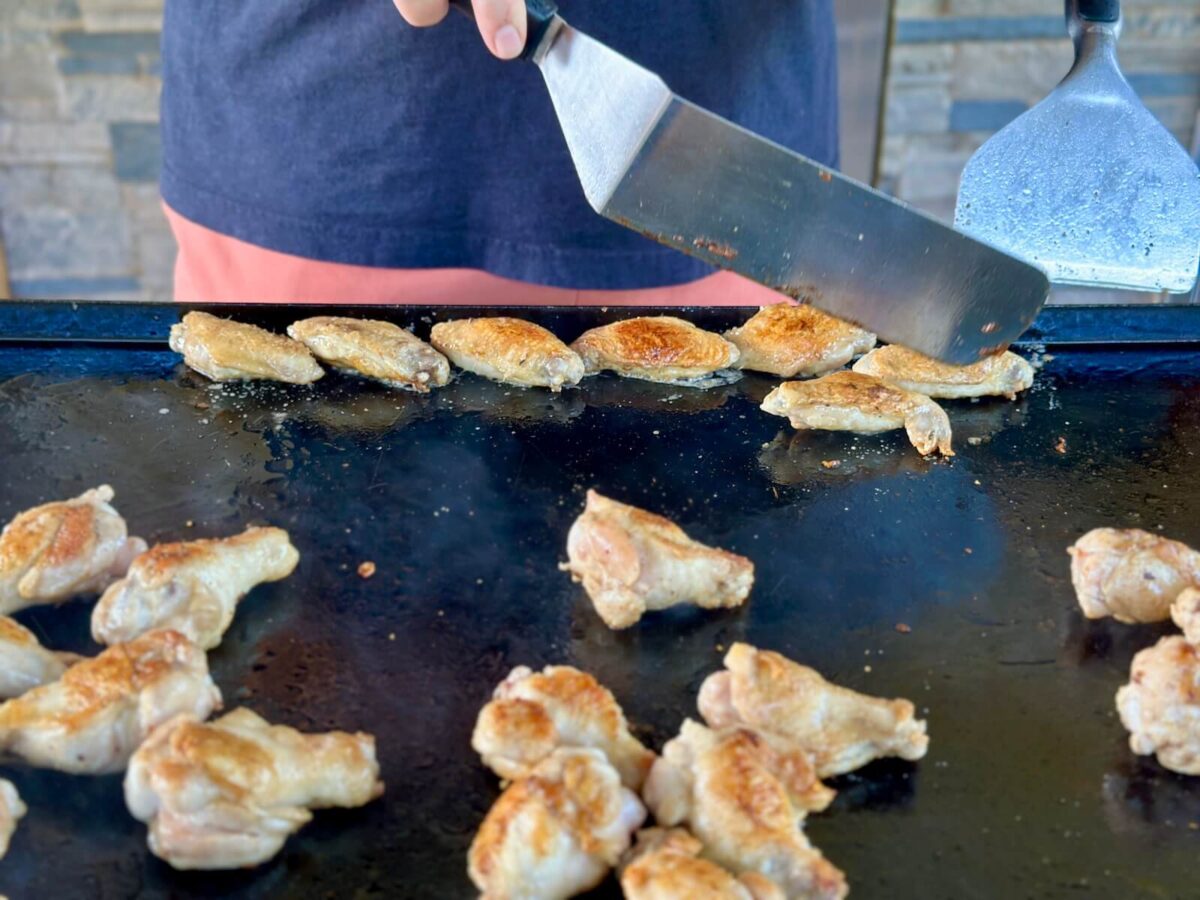
Step 8: Cook to 185–200°F, and probe more than one wing.
I cook my wings well past 165°F, to somewhere around 185 to 200°F. A lot of folks in the barbecue world, including competition cooks with plenty of trophies, agree that wings are better above 165°F internal. Wings are full of fat and connective tissue that need that extra heat to break down, and as you’ll see, they stay juicy. That’s your call, but it’s what I recommend.
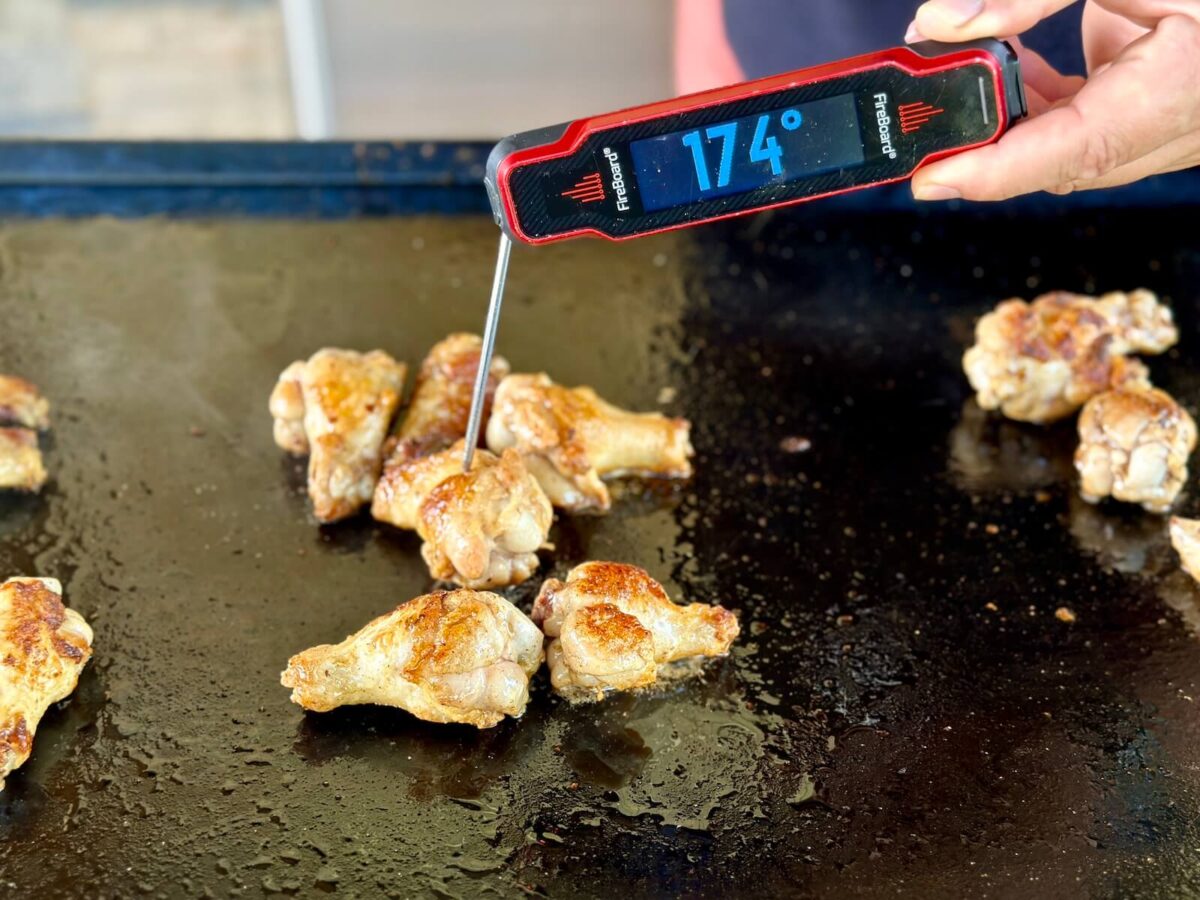
I won’t give you an exact cook time, because there isn’t one. Wing size, your griddle, how often you rotate, how hot your oil is, even the weather outside all change it. Use a probe thermometer you trust and check several pieces in different spots before you pull them. Don’t expect all your wings to finish at the same time.
Step 9: Toss and serve.
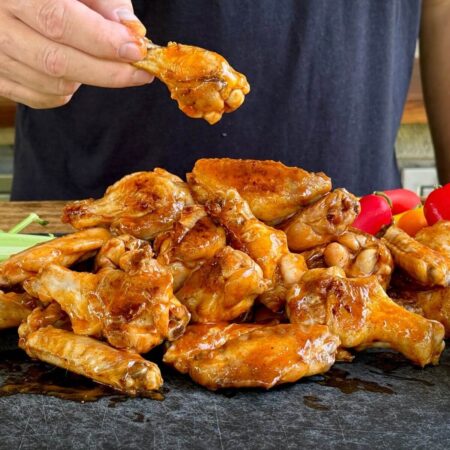
Toss the cooked wings in your favorite sauce, and serve them up with ranch or blue cheese. Even after saucing, the best of these held on to some crispness.
*TIP – Keep wings warm on the griddle. If your wings are done before the crowd’s ready, don’t let them sit in a pile where their juices make everything soggy. Set a cooling rack on the griddle, turn one burner on low, and spread the wings out on the rack. It works like an oven. Just rotate them so they don’t burn. This is great for game day, or anytime you’re cooking somewhere without an oven.
Crispy Chicken Wings on the Blackstone Griddle
Ingredients
- 3 lbs chicken wings cut into flats and drums, wing tips removed
- 2½ teaspoons kosher salt
- 1 tablespoon non-aluminum baking powder
- 2-3 tablespoons avocado oil for the griddle
- ¾ cup buffalo sauce your favorite store-bought brand
For serving:
- Ranch or blue cheese dressing
- Celery and carrot sticks optional
Instructions
- Dry the wings. Pat the wings completely dry with paper towels. If using frozen wings, thaw them fully and drain them on a cooling rack first.
- Season. Add the wings to a large bowl. Sprinkle with the kosher salt and toss. Sprinkle the baking powder over the wings and toss again until lightly and evenly coated.
- Dry brine overnight. Arrange the wings in a single layer on a cooling rack set over a sheet tray. Refrigerate, uncovered, overnight (8–24 hours).
- Preheat the griddle. Heat the griddle to medium heat, about 350℉.
- Add the wings. Add the avocado oil to the griddle, and spread it around with your spatula. Place the wings in a single layer with plenty of space between them, keeping them off the very edge of the griddle.
- Rotate often. After about 2-3 minutes, begin flipping and rotating the wings. Continue turning them every couple of minutes so every side gets contact with the griddle. Move wings to fresh spots on the griddle as needed so the surface can recover heat.
- Manage the zones. When the flats are almost to the proper internal temp, move them to a cooler zone (like around the edges) and keep the drums over the hotter center, since drums take longer to cook. Toss the wings in the rendered chicken fat as it collects instead of adding more oil.
- Cook to temperature. Cook until the wings are golden and the thickest wings reach 185–200°F internal temperature (165°F is minimum, but wings are best at the higher internal temp). Check several wings in different spots with an instant-read thermometer, and pull them as they finish.
- Toss and serve. Toss the wings in your favorite buffalo sauce and serve right away with ranch or blue cheese for dipping.
Video
Notes
- Use kosher salt. Table salt is much saltier by volume. If you must use it, cut the amount roughly in half.
- Go easy on salt. Most bottled wing sauces are already high in sodium, so don’t add extra salt to the wings.
- Baking powder, not baking soda. Use non-aluminum baking powder to avoid a metallic taste.
- No baking powder? Skip it and dry brine with salt only. It was a very close second in our test.


Get More Griddle Recipes!
Follow The Flat Top King on YouTube for more recipes and tips for mastering your griddle!