


Learn how to season a Blackstone griddle in this easy step-by-step guide! Plus, get tips for maintaining the griddle seasoning for a perfect non-stick surface!

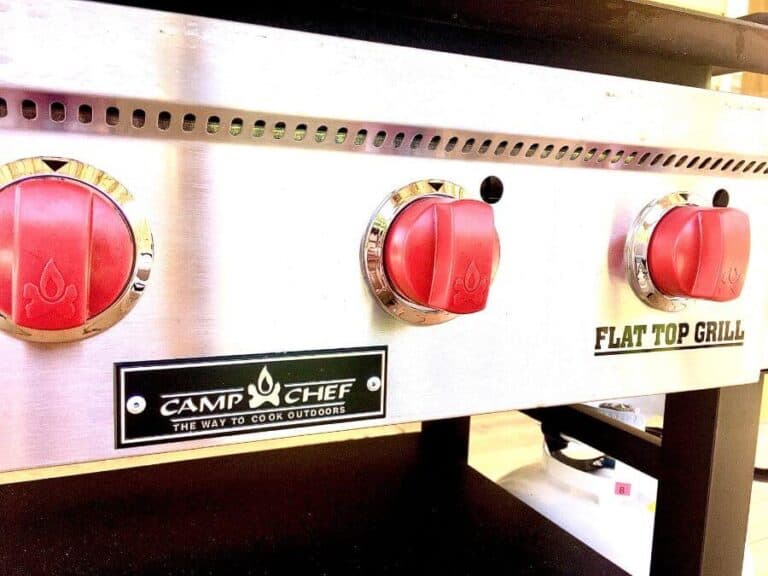
We manage a griddle cooking Facebook group with over 90,000 members, so I know that seasoning a Blackstone griddle can be one of the most intimidating parts of getting a new griddle. “Does my griddle seasoning look right?” is one of the most popular questions that we get in the group.
Most people are afraid that they’ll do it wrong and then their Blackstone griddle seasoning will just flake off or their flat top grill surface will be too sticky. And some people don’t even realize that they have to season their Blackstone griddle before cooking on it.
But don’t worry… in this post I’ll give you step-by-step instructions for how to season a Blackstone griddle, whether it’s brand new and you’re doing the initial seasoning or you’ve had it for years and you just need to do “maintenance seasoning”.
This guide will give you everything you ever wanted to know about Blackstone griddle seasoning, including what oil to use, how many rounds of seasoning you need, and detailed steps for getting that nice and smooth non-stick finish… and be sure you check out this post for how to clean a Blackstone griddle next!
What Does it Mean to Season a Griddle?
Seasoning is the process of building up layers of baked-on oil or fat on the surface of your griddle, similar to seasoning a cast iron skillet. The seasoning on the griddle plate acts as a protective layer and creates a nonstick cooking surface, and it naturally wears out over time, so it’s necessary to maintain and replace those layers with proper maintenance.
Seasoning a griddle actually occurs through a process called “polymerization”. Polymerization occurs when the right oil or fat is heated at high enough temperatures to form a hard dark surface on your griddle.
Certain fats are better for polymerization, which is why it’s important to choose the right cooking oil for seasoning a Blackstone griddle or other flat top grill. (We’ll talk about which oils to use in a minute).
Why Seasoning Your Blackstone Griddle is Important
You’ll need to know how to apply the initial coats of seasoning to your Blackstone before you start to test out the popular smash burgers or try your hand at hibachi chicken teriyaki. Here’s why:
To prevent rusting
A proper seasoning can help protect your griddle’s surface from rust by repelling water. The better seasoned your Blackstone griddle is, the less chance you have of water penetrating the seasoning layers and reaching the metal surface.
To create a non-stick surface
Think of your griddle surface as a piece of styrofoam… Styrofoam has small cracks, crevices, and bumps, and if you were to pour some scrambled eggs on it, the eggs would seep into those cracks and get stuck there. The same thing goes with your Blackstone griddle surface, except the unevenness on your griddle surface is microscopic.
Applying very thin layers of seasoning (or baked-on oil) helps to fill in those microscopic rough parts on the metal’s surface to create a non-stick, smooth, and glass-like surface. So instead of your food getting stuck in those small cracks and crevices, it just sits on top of the seasoning layers when you have a properly seasoned griddle.
What is the best oil for Blackstone griddle seasoning?
I have an entire post here about the best griddle seasoning oils that explains the different oil options and what you should NOT use.
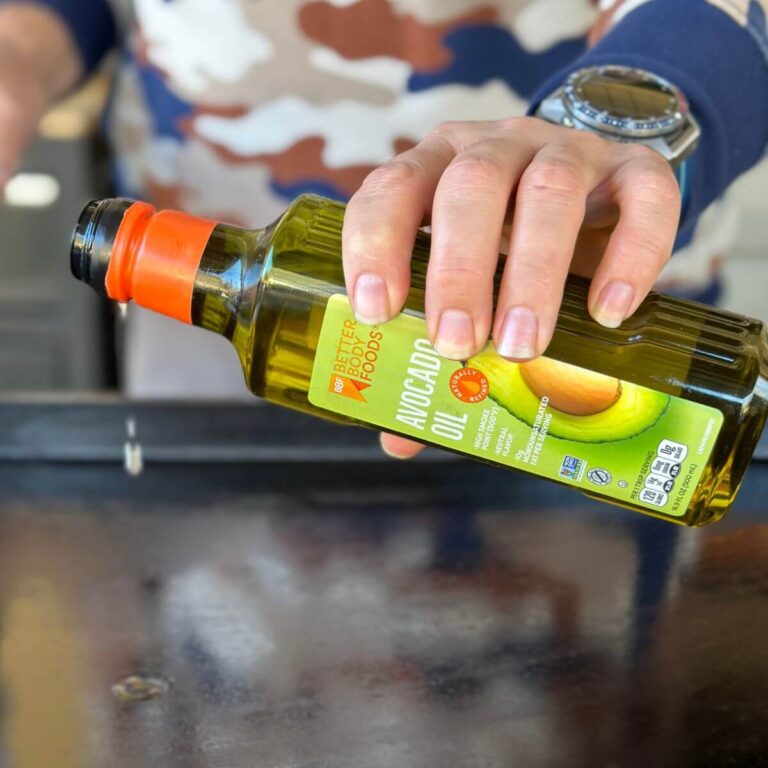
But after seasoning over 10 different griddles, including 4 different Blackstone griddles, I have found that avocado oil and grapeseed oil are best for seasoning a Blackstone griddle, or any rolled-steel flat top grill for that matter.
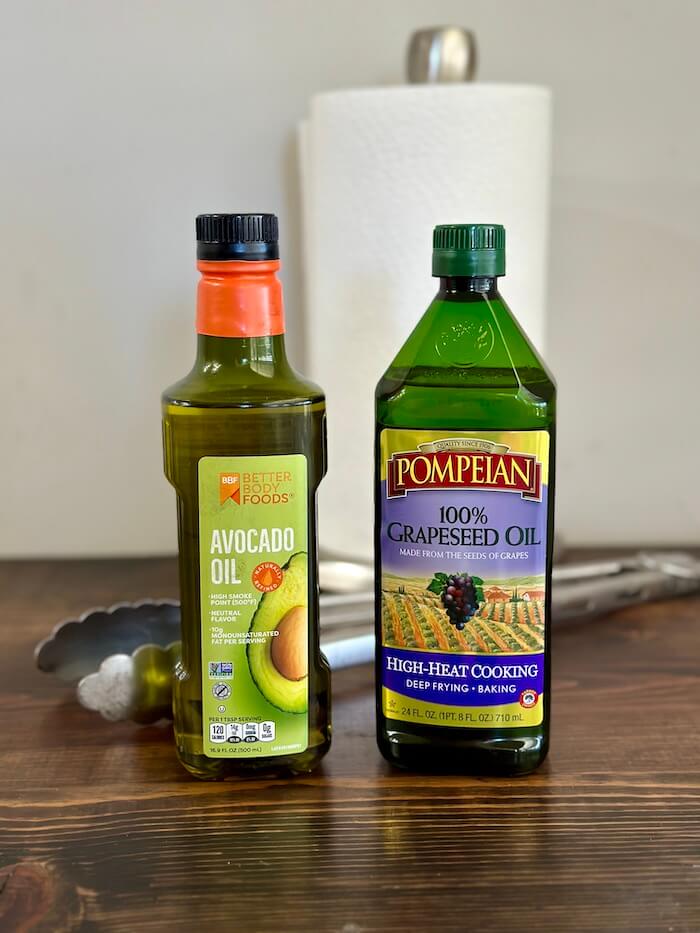
Just like seasoning cast iron, high heat oils work best because they won’t burn and they create a nice, strong seasoning layer on your griddle. Solid vegetable shortening is also a great choice because it’s inexpensive and easy to find, and it also has a higher smoke point than some other options.
Blackstone’s official recommendations include vegetable oil, canola oil, shortening, and their own Blackstone Cast Iron and Griddle Conditioner. They also include olive oil on their list, but I’ve spoken with many griddle owners that have had problems with their griddle tops becoming sticky after using olive oil, so I would not recommend that.
What tools to do I need to season my Blackstone?
Besides the seasoning oil or shortening, you will also need a few other items when seasoning your griddle or flat top grill. Here are the tools that I use and recommend:
- Paper Towels – I prefer to use the Costco brand of paper towels because I find them to be more durable than other brands, and they leave less lint behind.
- Metal or High-Heat Tongs – Tongs help to elevate your hand from the hot griddle surface. Most often when applying thin layers of oil to my griddle, I use long handled tongs to grab the wad of paper towels and distribute the oil across the surface, in the corners, and around the outer edges of my griddle.
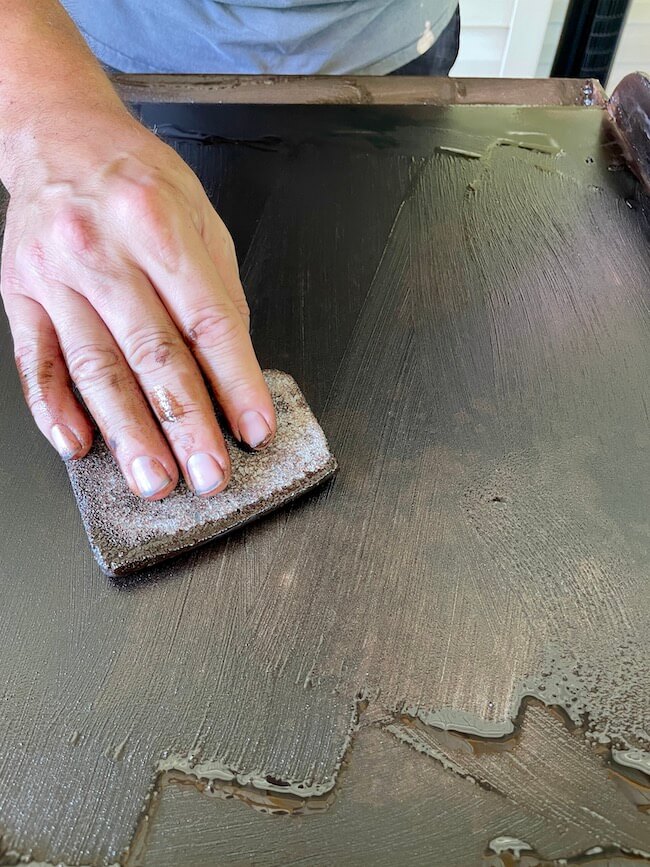
- Grill Brick (optional) – If your griddle seasoning is in bad shape and you need to even it out a bit to rebuild it back up, then you’ll need a grill brick. I’ve got a full guide on how to use a grill brick here.
*You can check out some of my other favorite griddle accessories here!
How to Season a Blackstone Griddle
After seasoning over 10 griddles and flat top grills, I’ve perfected the simple process. Here are the easy step-by-step instructions that I use every time to perfectly season a new Blackstone griddle:
Step 1: Clean and dry the griddle surface.
Before you can apply fresh layers of seasoning, you need to be sure that the surface of your flat top grill or griddle is clean and dry. You can go here to see how to clean a Blackstone griddle.
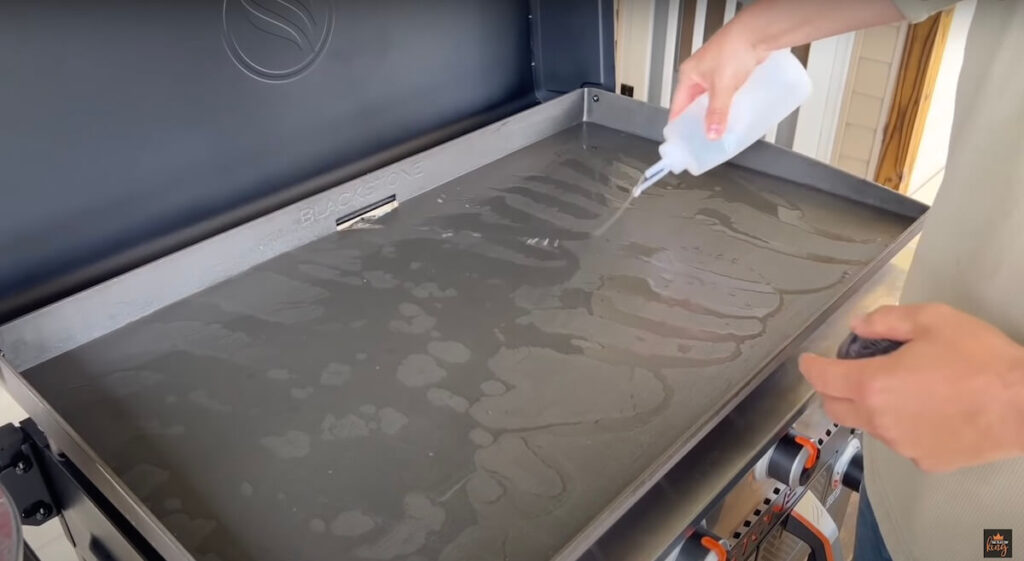
*Note – If you’re seasoning a brand new Blackstone griddle, then you will want to use hot soapy water for the initial cleaning before you start the seasoning process. This helps to remove the gunk, debris, sticker reside, etc. from the manufacturing and transit. Then, use a squirt bottle of clean water to rinse the soap off the griddle surface, and dry it thoroughly with paper towels.
If you’re only applying some seasoning layers for maintenance or re-seasoning and your griddle is not brand new, then you probably won’t need soap. You should be able to just squirt the griddle down with some clean water and use paper towels to wipe it clean.
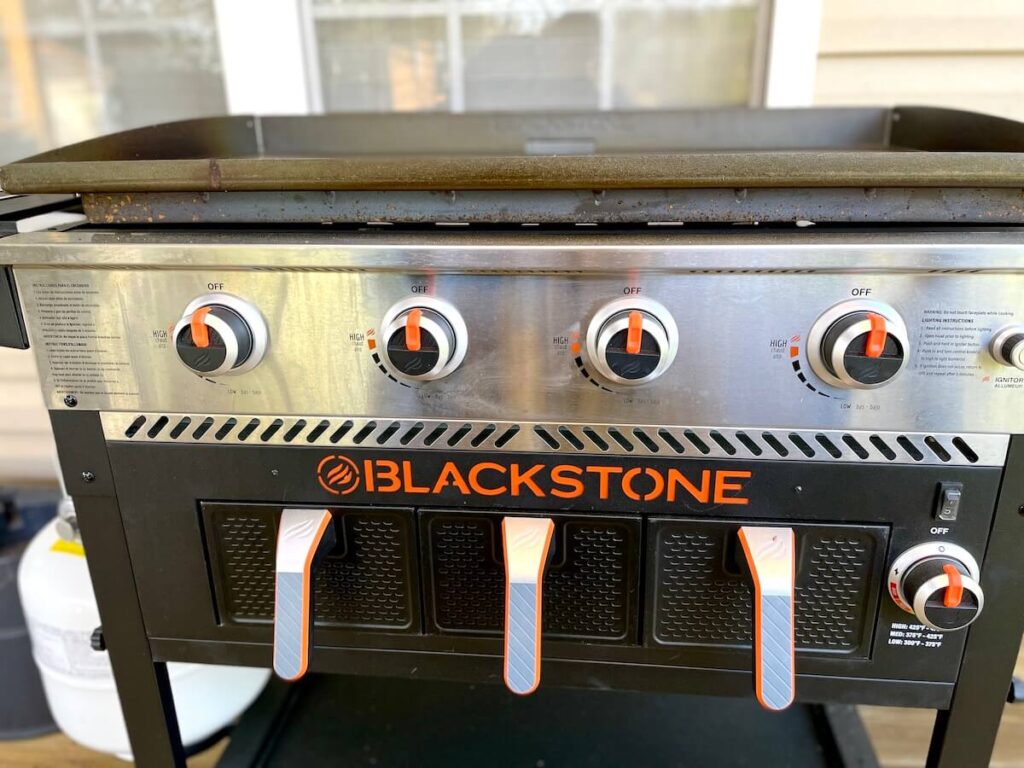
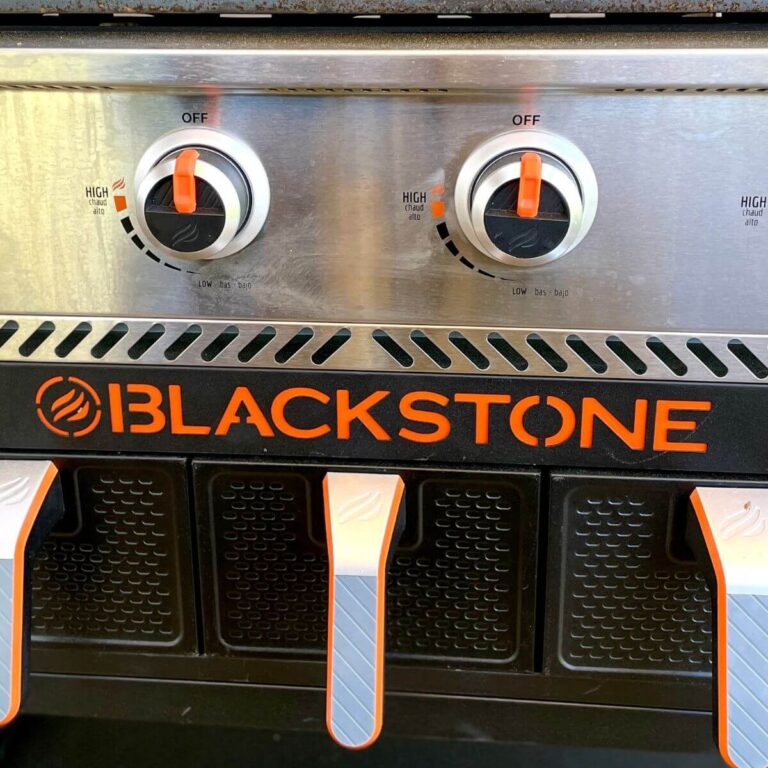
Step 2: Turn the Blackstone on high and allow it to preheat for about 10-15 minutes.
After the griddle is completely dry, turn all of the burners on high and preheat for approximately 10-15 minutes. You should start to see some discoloration with a darker black coloring in the center of the griddle like this:
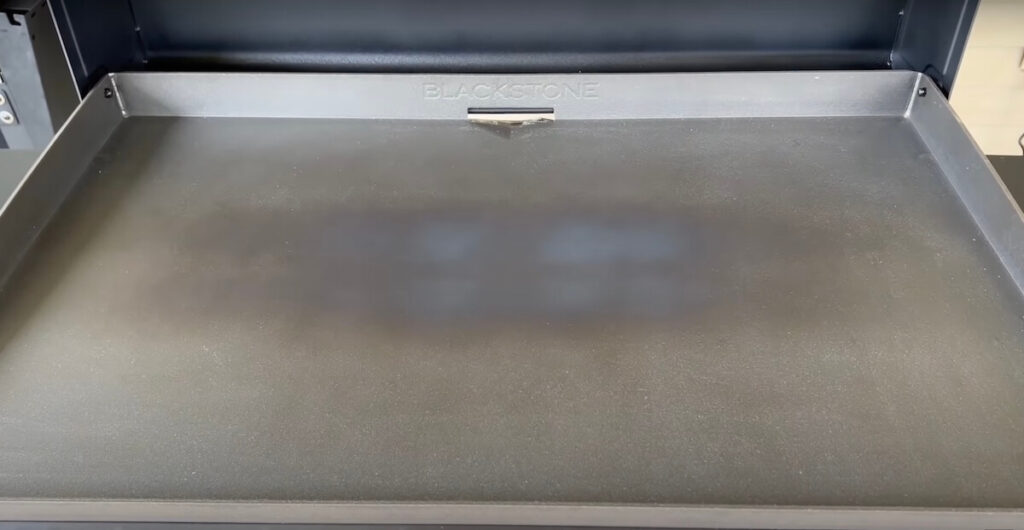
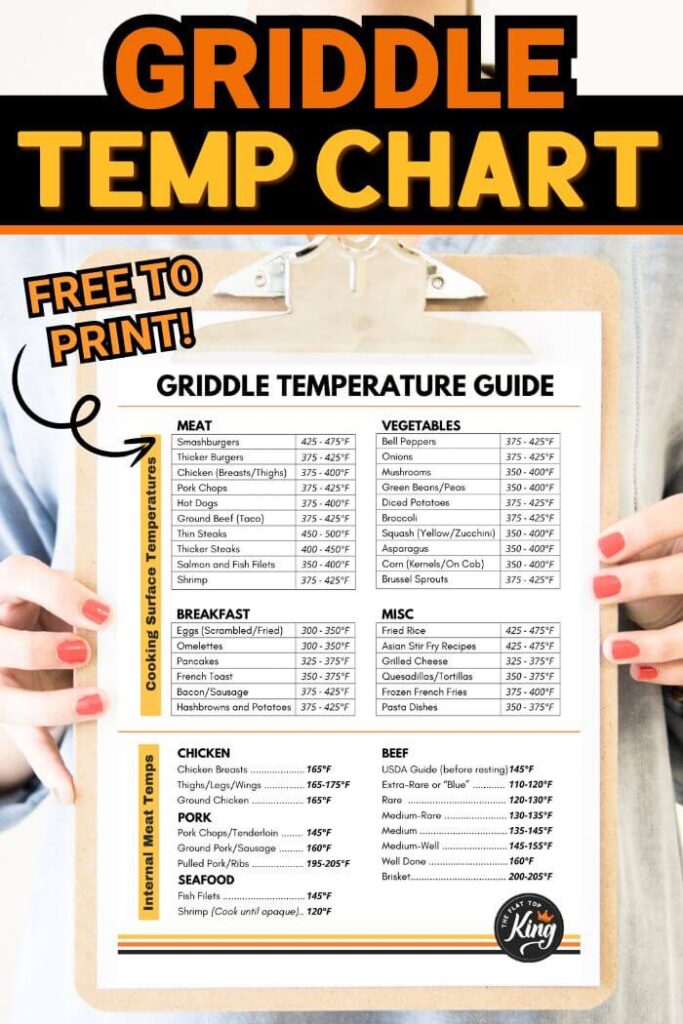
*NOTE – I have found that there are very few times you will ever need to turn a Blackstone griddle to high, but seasoning is one of them. Learn more about griddle temperatures, and grab a free printable griddle temperature guide here.
Step 3: Apply a thin layer of seasoning oil to your griddle.
When the griddle is hot, carefully add a small amount of the seasoning oil of your choice, and rub it in to the surface with a wad of paper towels. You should focus on applying a very thin layer of oil to the grill and make sure that there aren’t any areas of pooled oil.
If the oil is too thick, it will become sticky after heating instead of completely curing on the surface. If you’re using Crisco shortening or Blackstone Griddle Conditioner, then a good spoonful for each seasoning layer should be good for a 4 burner griddle.
*CAUTION – The oil will be VERY hot, so when you’re rubbing it into the griddle surface, be sure that it doesn’t splash up in the corners and burn your hands. I recommend using a pair of long handle metal tongs to grab the wad of paper towels and apply the oil like this:
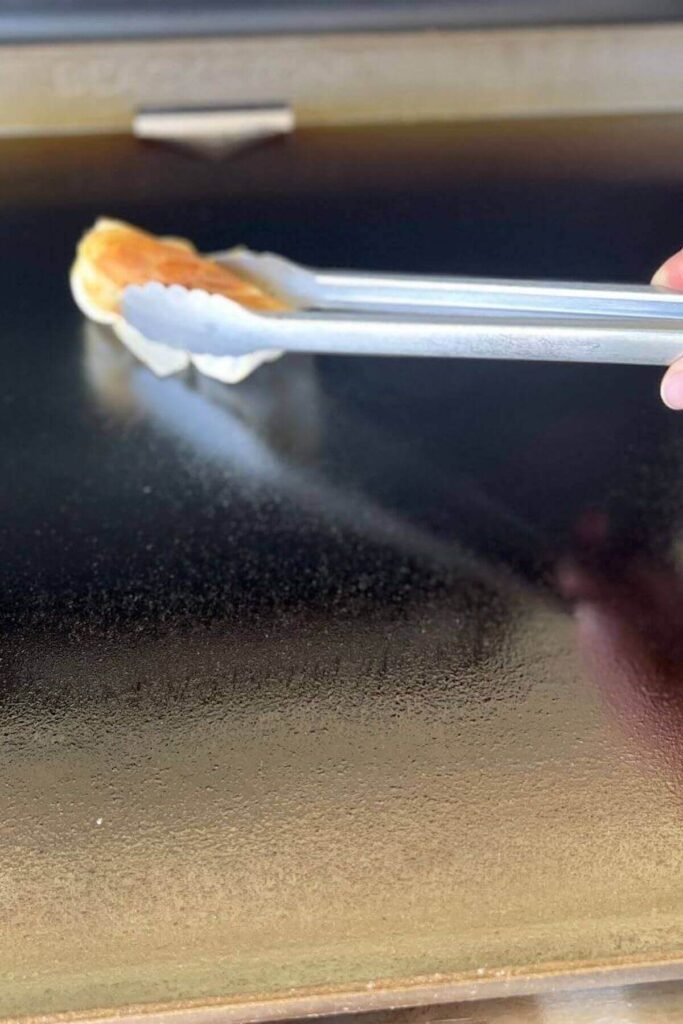
And don’t forget about the sides and outside edges, too! Wipe those down with the oiled paper towels also.
Step 4: Wait about 5-7 minutes until the smoke starts to slow down, then repeat as needed.
This is the most important step to seasoning a Blackstone griddle, and it’s the step that most people never actually do. If you never heat your oil to its smoke point, then the polymerization process doesn’t happen, and the layers of oil never actually get baked on to the surface.
After you apply a thin layer of oil on the surface, just let the griddle top smoke – this shows that the oil is “burning into” and seasoning the griddle.
Once your oil has been smoking for about 5 minutes, you should start to notice a decrease in the amount of smoke. Sparing you all of the chemistry speak, that’s because the oil is basically turning into the hard layer of seasoning. The smoke will start to slow down and the griddle will not be smoking as much as before. You should also notice that the surface of your griddle appears slightly darker than before.
If you’re seasoning a brand new Blackstone griddle, then the darker patch in the middle will start to grow wider with each seasoning layer. Don’t be surprised if after 5 seasonings, your corner areas are still bronze in color instead of solid black. The Blackstone griddle seasoning will continue to build as you cook on it.
After the smoke has dissipated (about 5-7 minutes), you can go ahead and apply another thin layer of oil and repeat the process again, allowing the smoke to build and then eventually dissipate after a few minutes. Then apply another thin coat of oil.
The number of times that you need to repeat the process largely depends on the condition of your griddle surface. This is what my new Blackstone looked like after 3 coats of seasoning:

I recently re-seasoned my brother-in-law’s Blackstone griddle for him, because it was in rough shape. He hadn’t used it or even lifted the lid in over 6 months, and it had started to rust. I went through the seasoning process about 4 times on his Blackstone, and then it was good as new and ready to cook on once again.
*You can see this post with detailed instructions for how to fix a rusty Blackstone griddle.
Video Showing How to Season a Blackstone Griddle:
If you’re more of a visual learner, then you can watch the full video of How to Season a Blackstone Griddle on my YouTube channel here… I’ll walk you through the entire process start to finish:
Why are the outer edges of my Blackstone still bronze after seasoning?
This is probably one of the most common questions that we get from new griddle owners. And don’t worry… if the edges and sides of the cook top are lighter in color after seasoning, you didn’t do anything wrong.
The griddle surface should still be well seasoned and non-stick at this stage, and the color will continue to darken as you cook more and more meals on it. It is NOT necessary for the entire griddle surface to be black in color after seasoning. If your food doesn’t stick, you’re good to go!
When do I need to re-season my griddle?
Going through the complete seasoning process every single time that you cook on your griddle is not necessary. Most of the time you’ll simply apply a thin layer of oil to the surface of your griddle after cooking and cleaning it and be done. However, if you notice that your food is starting to stick to your griddle surface, then that’s a tell-tale sign that it’s time to add another coat of seasoning.
Also, if you haven’t used your griddle in a long time and you notice that rust is starting to build up, go ahead and clean it well before adding a few layers of seasoning.
How long does it take to season a Blackstone?
It takes roughly 8-10 minutes to season a Blackstone griddle with one coat of oil, not including the time to preheat the griddle. So if you’re seasoning a brand new griddle that requires 4 to 5 coats of seasoning, then you can expect to spend about 45 minutes to 1 hour.
I hope this guide helps you to be more confident when seasoning your griddle or flat top grill, whether it’s brand new or you just want to make sure that you’re keeping it in tip top shape.
And once your griddle is well-seasoned, be sure to check out this post for flat top grilling tips and tricks!
Pinterest User? Be sure to PIN this to your Blackstone cooking board. This is a great way to support us!


I have a new Weber griddle and attempting to season it. After two time it shows tiny white spots after it cools. .What am I doing wrong. I thought I was following your instructions. Thanks for you advice and the videos. Jay
Here is a link to the colors of steel at different temps. https://sheffieldgaugeplate.co.uk/blog/steel-temper-colour-chart/
The reason the color moves slowly across the grill is the specific temp required to turn the metal to colors has not been met. You my never change the outer edge to deep purple because the temp required may not travel to the outside edge.
I have worked with metal during my work life and enjoy seeing straw, yellow, blue and purple bands on the metal I am working.